Home LEGO creations ministeck mosaics Contact

Storage

design: January 2009
creation: December 2010 - January 2011

(Pictures of my creations can also be found in my BrickShelf folder)


Storage

1. Introduction

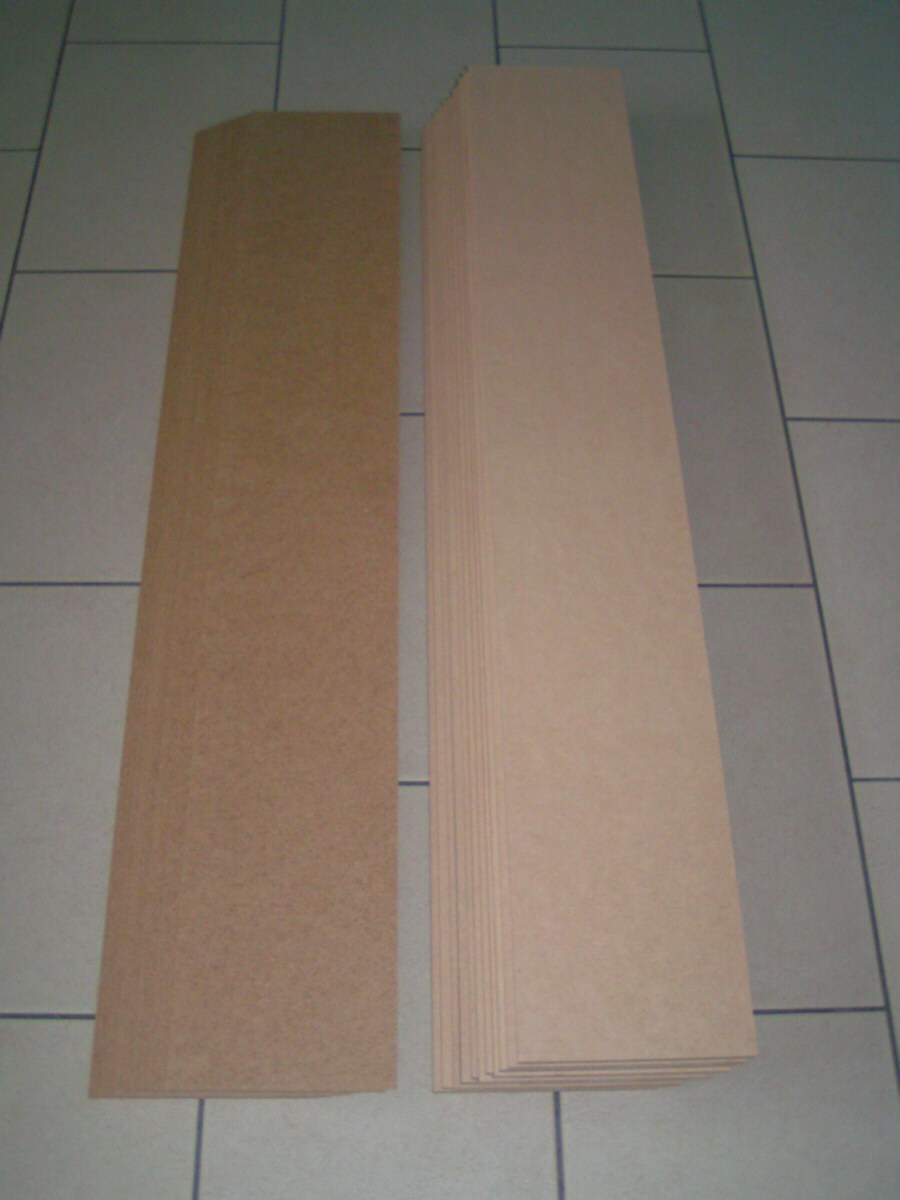
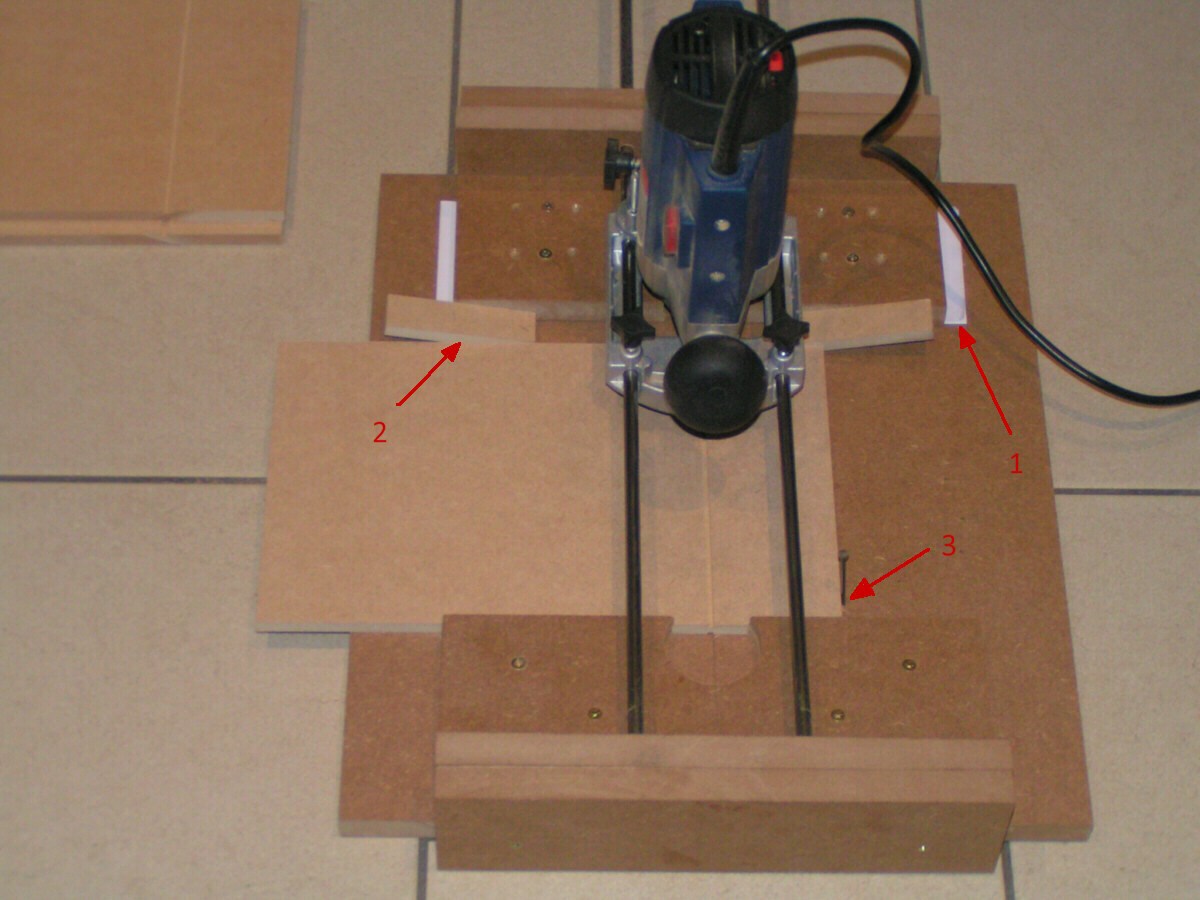
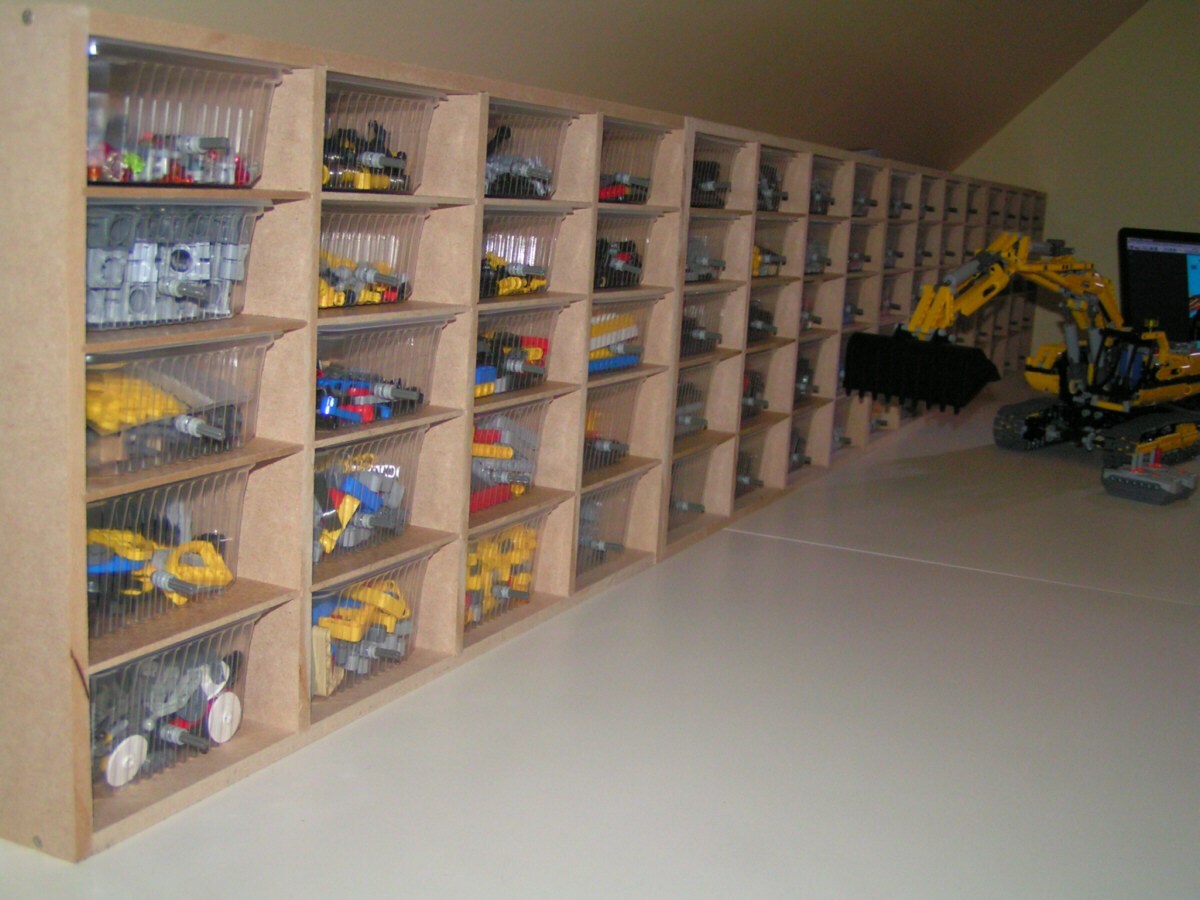
Near the end of 2008 I decided I needed a better way to sort my bricks, because I still had a few ideas for larger constructions lingering in my mind. Instead of bying standard storage-containers, I thought it would be cool to create them myself. I decided to use mdf-panels, because they're easy to manipulate. My first attempt was not a big success: way too heavy, not very elegant, and a bit crooked (apparently I didn't saw the pieces under a perfect 90° angle...). Because it's so heavy and strong I now use it to sort my DIY-stuff.
I soon came up with a new plan, but I didn't start to build it right away: after more than 20 years my oh so lovely wife briefed me that she had been faking ever since our very first kiss, and she didn't want to go on with it. I'll probably never get an answer to why she did it, but you can imagine what a shock it was for me to hear this: I have been a housefather for nine years raising three children on my own while she could concentrate on her career. Finding a job in the middle of a worldwide economic crisis was hard, and at the age of 40+ I now have to be happy with a wage of graduates (about half what she gets). To those who regurlarly check my site: that's why it took me so long to add new material.
Because the office was closed between Christmas and New Year, and my children had to stay with their mother that week, I figured the time was right to do something about my LEGO-addiction, and finally start the construction of my storage-containers that was designed two years earlier. And I'm quite happy with the result...

2. Images

Precut boards

  • Left: the precut boards as they came from the DIY shop (I had them precut because I don't have the equipment to cut these large mdf-panels in boards of equal widths). Original panel-size: 122 x 244 cm (48 x 96 inch), thicknesses: 3 mm and 9 mm (approx. 1/8 and 3/8 inch), resulting in 2 x 12 boards of approx. 19 cm wide.
  • Right: I designed a small table to mount my milling machine specifically to mill slots on boards up to 20 cm wide.
Milling machine
Boards cut to size

  • Left: the thickest boards cut to size (hopefully not as crooked as the first time...).
  • Right:
    1. I added a piece of paper to get the settings of my table right - up to one tenth of a millimeter.
    2. 2 wedges to keep the board in place while milling.
    3. All I need is a simple nail to be able to duplicate identical grooves.
Milling
Assembly

  • Left: a strap to hold the pieces together while adding a few screws (nothing glued!).
  • Right: complete assembly, with the shelves.
Completed
Finishing touch

  • Left: a finishing touch with a few LEGO elements on each drawer: 750 cc (12x) and 1000 cc (8x).
  • Right: all parts sorted by shape and/or colour.
Neatly sorted
The desk

  • Left: this desk was originally designed to make puzzles up to 6000 pieces. It was placed in another room right under a skylight on the north side of the house for optimal puzzling conditions. Now I probably have to add an extra light above my desk.
  • Right: and yes: all my old sets (Technic and Model Team) found a place underneath...
My old sets
Kids room

  • Left: My desk looks pretty neat compared with the LEGO-room of the kids, don't you agree?

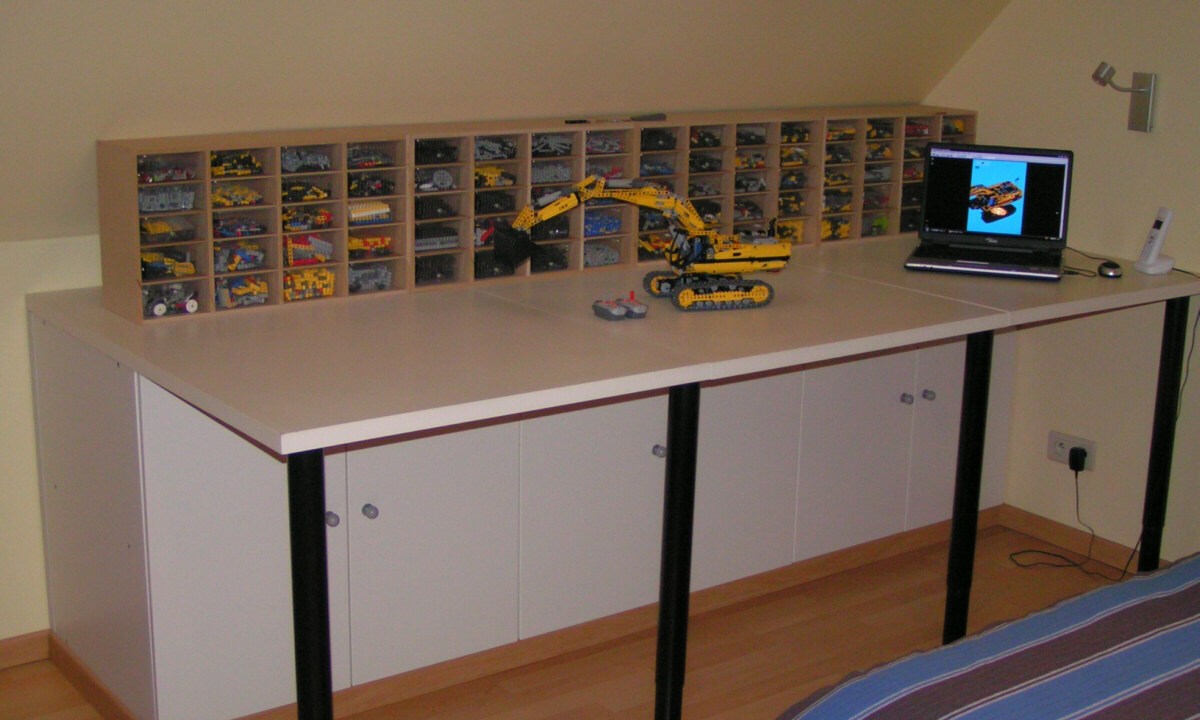
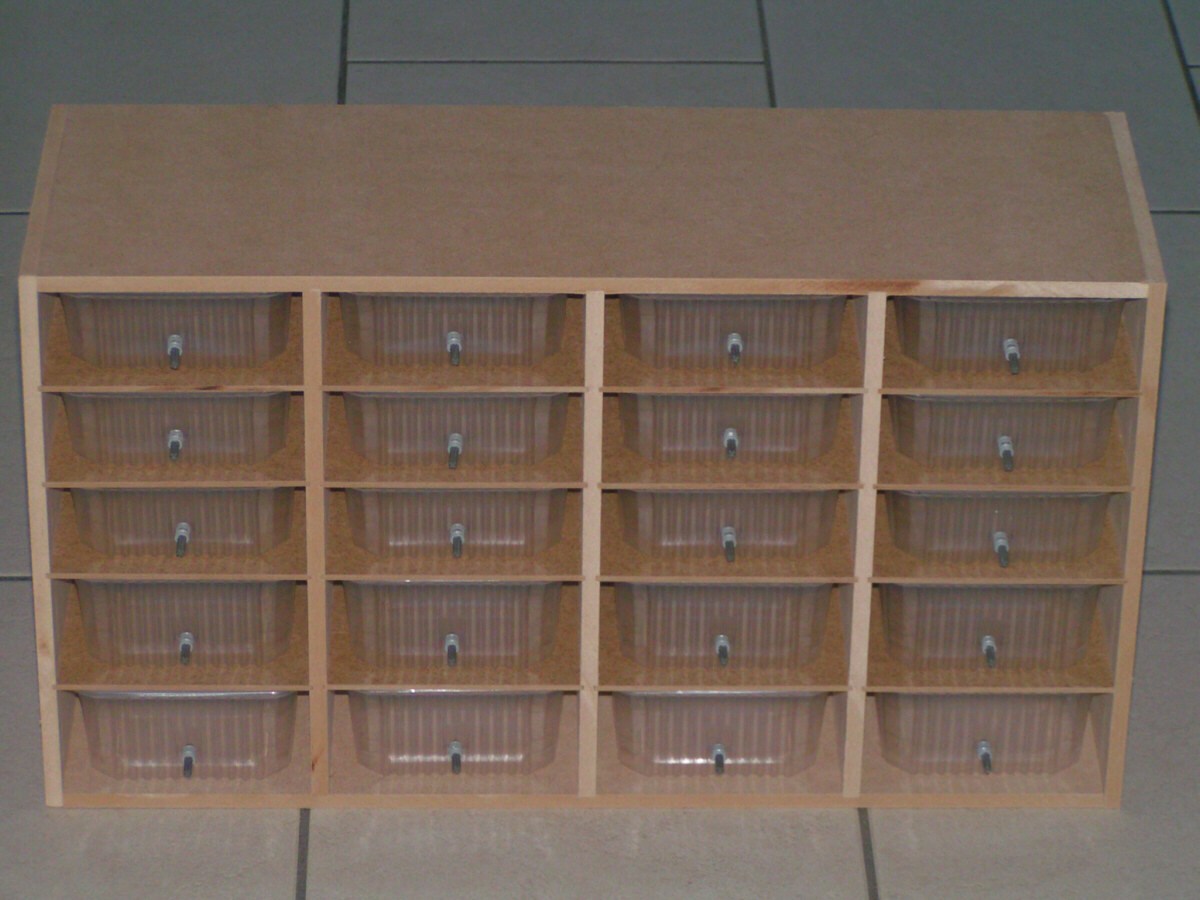
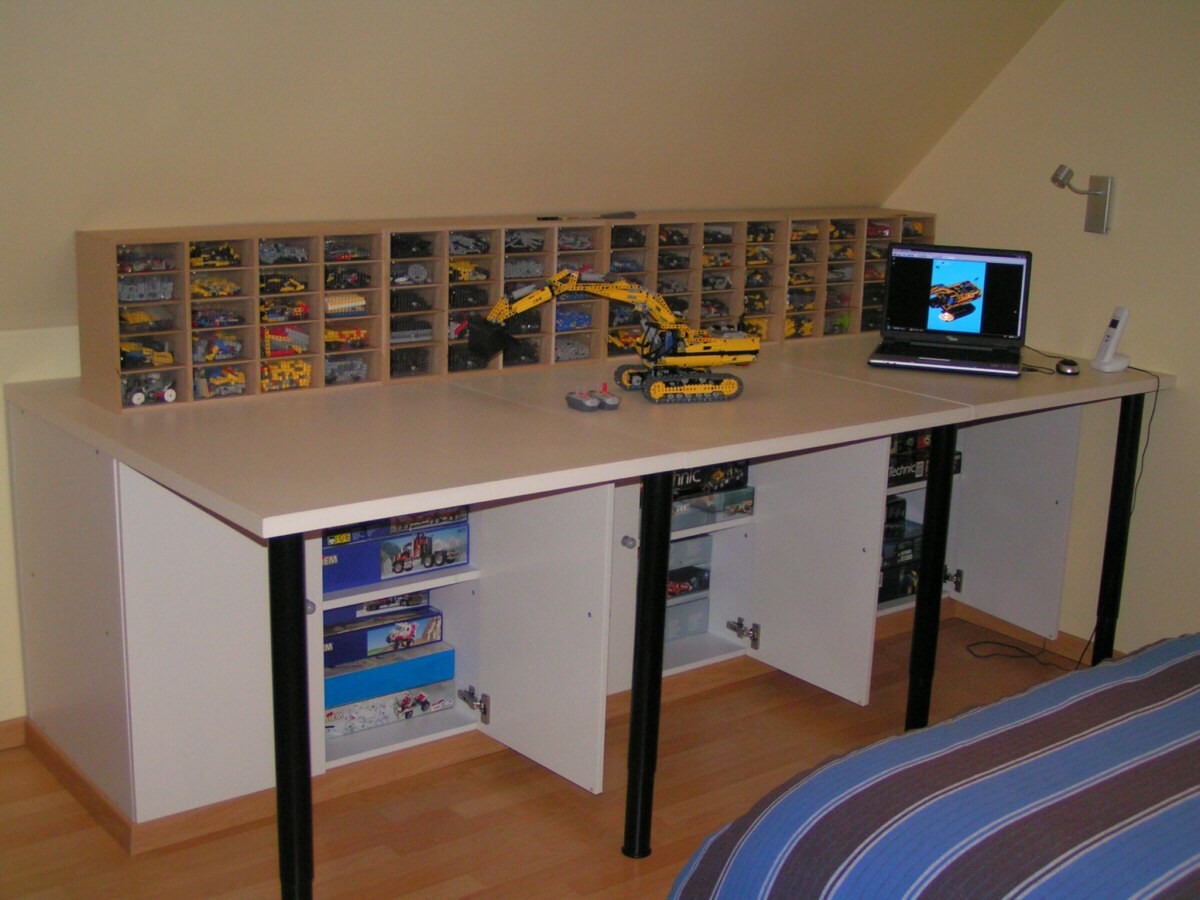
The storage-containers contain all my LEGO Technic sets I bought from 2004 to date: 8047 (2x), 8258, 8266 (6x), 8275 (2x), 8284 (2x), 8287, 8294 (2x), 8297, 8421, 8434, 8435, 8436, 8455 (7x) and 8466 (2x). The exhibited excavator 8043 was build with parts in my supply (with a few necessary adaptations). Tires and electric parts are stored seperately (in large ice cream boxes). Unfortunately, there is no room left for my mosaics material...